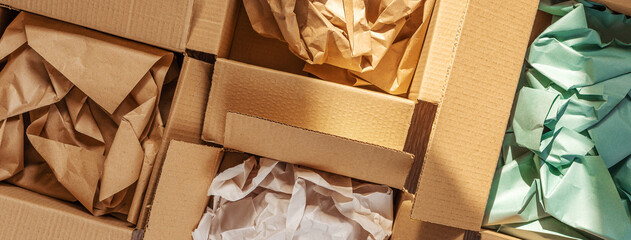
Guide for Assembling the Mailer Boxes
Guide for Assembling the Mailer Boxes from U-Pack
Assembling a mailer box might seem a bit difficult, but with the right approach, it can be an easy, smooth, and straightforward process. You can follow this simple step to assemble your mailer box properly/correctly, check out U-Pack tips to make the whole process fast, easier and to avoid the common mistakes people usually make when assembling a mailer box.
Steps For Assembling the Mailer Box
CLEAN YOUR WORKSPACE/SURFACE
CREASE THE SCORES
FOLD THE FRONT AND BACK FLAPS
BRING UP THE SIDE WALLS
LOCK THE BOX
Step 1: CLEAN YOUR WORKSPACE/SURFACE

Keep your work area free of obstructions from a spotless, level surface that is larger than an unassembled box sheet. By doing this, any harm to the box's wrinkles is avoided.
Make sure the surface is clutter-free to create a neat and uncluttered atmosphere.
Step 2: CREASE THE SCORES
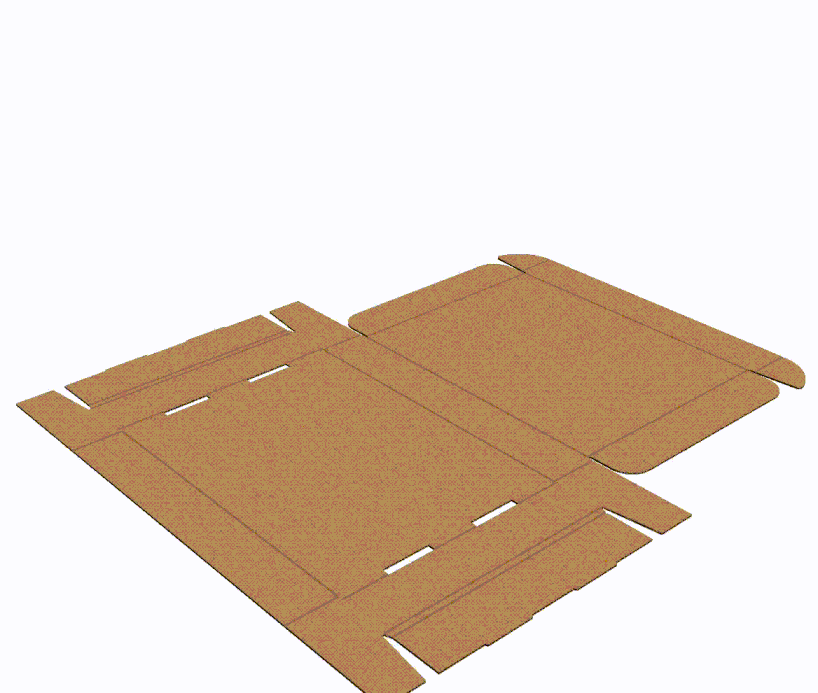
On the inside side of the box sheet that hasn't been assembled, look for the pre-fold score lines. To achieve clean, defined creases, fold each score in the direction of the interior.
The scores on the sidewall that are near to one another should receive special attention. In order to guarantee that the sidewall fits correctly, fold each crease independently.
Step 3: FOLD THE FRONT AND BACK FLAPS
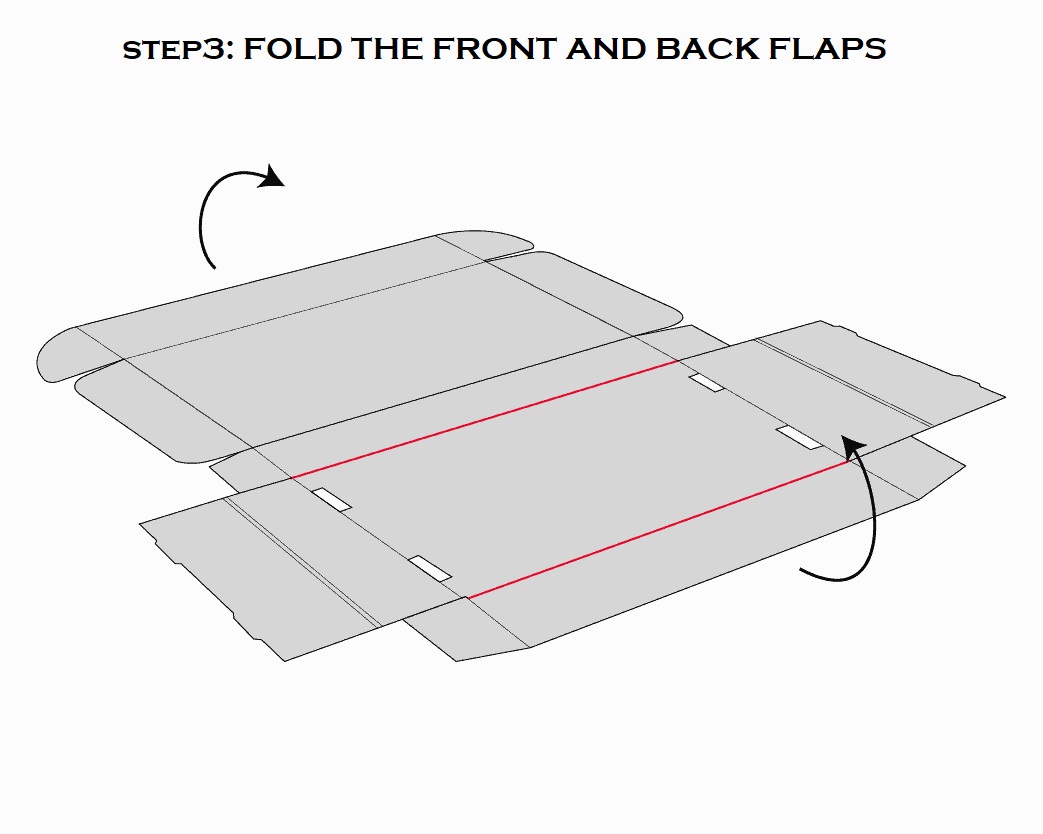
As much as possible, keep the tuck flaps on the sides when folding the front and back flaps forward.
To guarantee stability while moving on to the following stage, gently brace the back flap into place.
Step 4: BRING UP THE SIDE WALLS
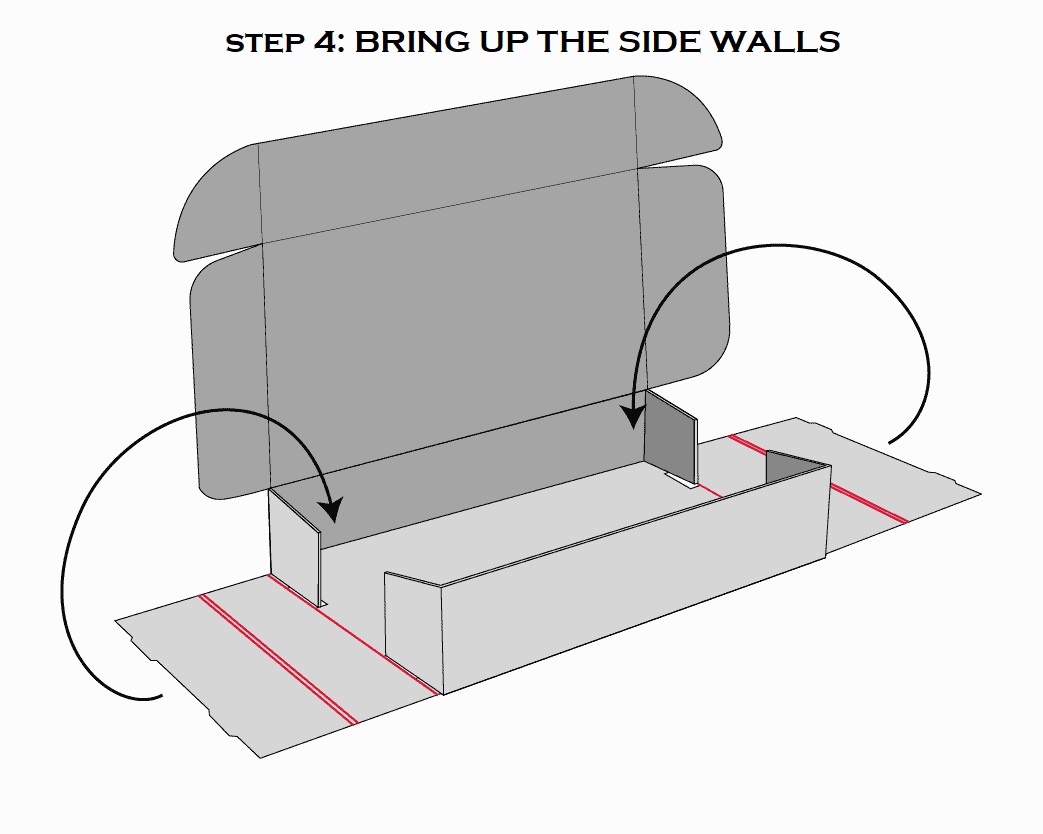
Raise the side walls by floating the flaps on the left and right over the tuck flaps.
In order to ensure evenness and symmetry, snap the side walls into place simultaneously. As a result, the construction is secure and well-fitted.
Make sure there are no sloped or peaked areas on the tops of the side walls.
Step 5: LOCK THE BOX
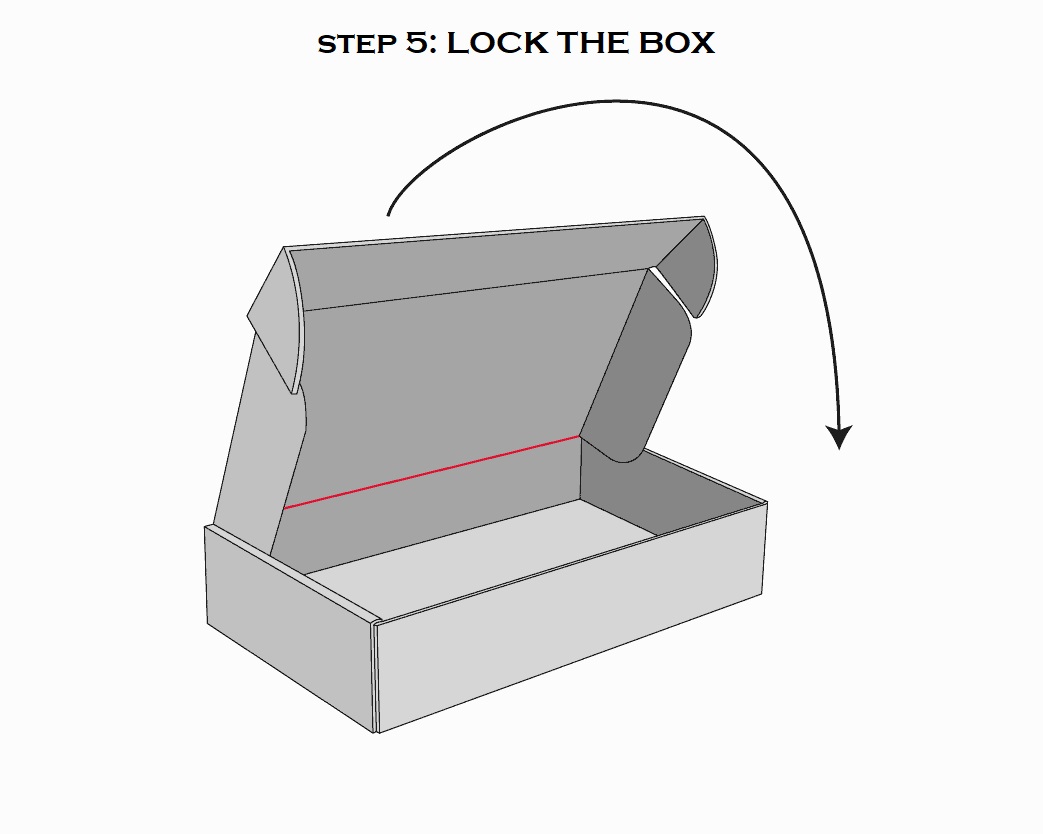
Once the structure of your box has been established, add your stuff within.
After shutting the lid, place the locking tabs in the sidewall's corresponding slots. You now own a reliable mailbox box that is lockable!
AND YOU CAN USE YOUR BOX NOW!
Common Mistakes When Assembling a Mailer Box
Failure to circle the previous row(s) may result in a misconfigured box.
Although mailboxes do not require adhesives, it is important to secure the lids with tape to prevent accidental opening during transport.
Mounting on an unstable or uneven surface may cause errors and damage the box.
A Few Tips For Smoother Mailer Box Assembly.
Option for custom mailer box tailored to your products size or dimensions id possible. This can streamline the assembly process.
If your mailer has instructions, follow them carefully to avoid mistakes.
A box cutter can expedite the cutting and folding and save your time and efforts
-
Guide for Assembling the Mailer Boxes
April 4, 2024
-
Leveraging Packaging for Marketing Success in India
 February 24, 2024
 -
The Impact of Packaging on Online Customer Experience
January 30, 2024
-
Packing Material Role
January 22, 2024
-
Sustainable Packaging: A Win-Win for Businesses and the Environment
January 17, 2024